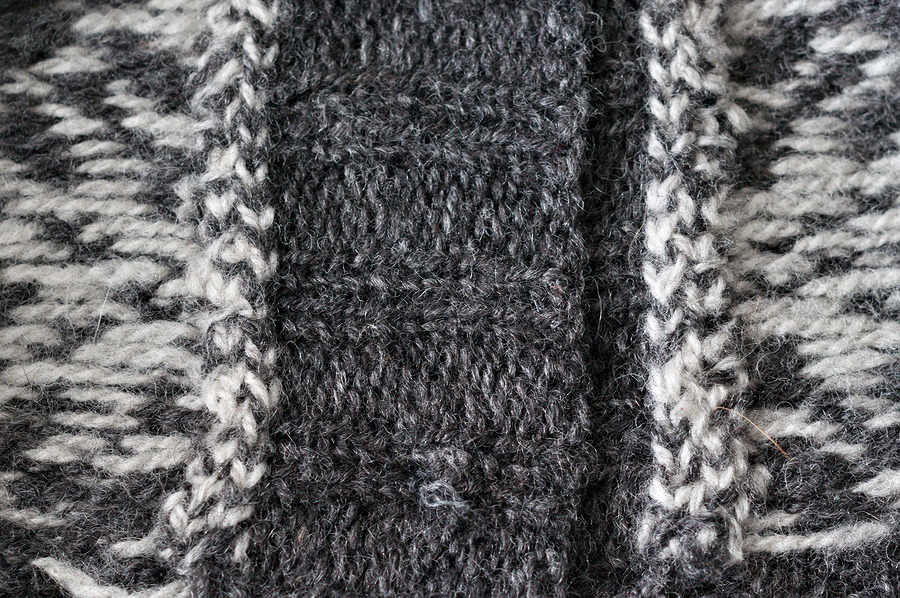
 Steek cut without edge treatment
By Anna - 23rd August 2023
yarn suitability and edge treatments
“Steeking” in short is the act of cutting a knitted piece open instead of knitting separate parts to create openings. Most commonly, steeking is used to create cardigans in stranded colourwork, which most knitters prefer to knit in the round instead of flat, as that would require purling with multiple yarns. Steeking can be used to open the front of a cardigan, but also for armholes and even neck shaping. There are of course not even more applications for steeking: It can be used to knit shawls in the round, adjust necklines that did not fit as intended, for accessories. Most often, it is associated with stranded work, but that is of course not a requirement. Even for single colour items, it might be more comfortable to steek instead of knitting flat.
The idea of cutting knitwear can be intimidating, but with the correct preparation, it is a very freeing technique. The only thing to keep in mind is that ripping out a finished piece to reuse the yarn will not work when the item is steeked. A cardigan can be tried on before cutting it open to check the fit, but if armholes or neckline are to be cut, the final shape of the garment will not be revealed until after steeking.
In the places that are supposed to be steeked, a number of additional stitches is added. These will later be cut, then folded away and therefore do not count towards the final stitch count of the piece. How many stitches are added can vary, depending on the type and weight of yarn, but it should always be an uneven number of which the middle one is later cut. Five or seven steek stitches are usually a good option.
In stranded colourwork, the steek stitches are worked in a checkerboard pattern or with vertical stripes to make sure both yarns are used equally in the steek and therefore equally secure. The first and last steek stitch can also be purled to make it easier to fold back the edge. It will work without the purls as well, so accidentally knitting across them while in a flow will not cause issues.
Colour arrangement in the steek stitches
In general, all yarns can be steeked, they only need different kinds of treatment to secure the edges. Traditionally, steeking is most common in Shetland and in Scandinavian countries and it is most suitable to the yarns used in the traditional garments of these areas. Natural animal fibres that will want to felt together make the steek very secure with very little effort. Woollen spun, non-superwash yarns are therefore the easiest way to go.
Worsted spun yarns will often not felt as well, even if they are non-superwash. Depending on how tightly they are plyed, their surface is smoother and more slippery. These yarns can still be steeked, but they will require more treatment to make the edge secure. The same applies to all kinds of superwash yarns.
Even yarns that do not contain wool can be steeked with the proper precautions, but the less grippy a yarn is, the more highly it is recommended to knit and cut a swatch to check how it will behave.
There are many ways to treat a steeked edge before and after cutting it open. The most common ones will be explained here. In all cases, it is preferable to wash the knitted item before cutting the steek so the yarns will relax and grip each other. When cutting the steek, use sharp scissors and make sure to hold a hand inside the item, underneath the scissors, to avoid catching the back fabric by accident.
Cutting the steek with no treatment at all is the easiest and probably most traditional way of handling the technique. It should only be done when a grippy yarn was used. The raw edge is then folded inside and held down with a rough whip stitch so it does not flip up.
 Steek cut without edge treatment
This is the steek of a well worn cardigan knitted in Rauma Finull. The steek was not treated, just roughly whip stitched in placed. It has now slightly felted into place and is very secure.
Some people recommend a crochet edge along the steek. This will add some bulk that might not always be desired and will only add more stability if the yarn is very grippy. For unexperienced steekers, the clean edge can make it easier to see where to cut. With the working yarn or a grippy thinner yarn, work a line of single crochets, each line gripping one leg of the stitch that will be cut and one leg of the stitch next to it.
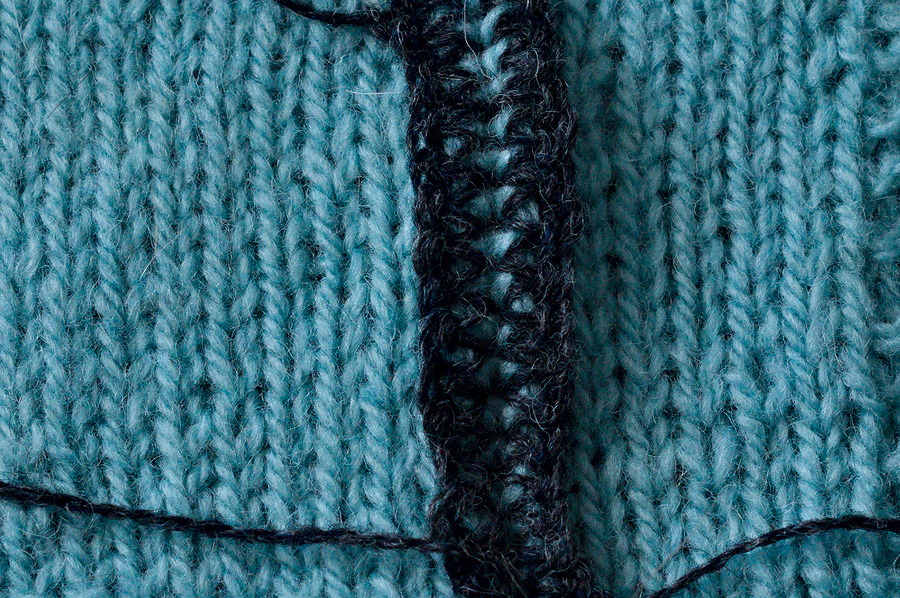 Crocheted edge before cutting
To be as safe as possible, use a sewing machine to secure the steek on either side of the cut. Depending on the yarn weight, drape and weight of garment, either a very short straight stitch or a flat zigzag stitch can be used. Make sure to catch all yarns, if possible several times.
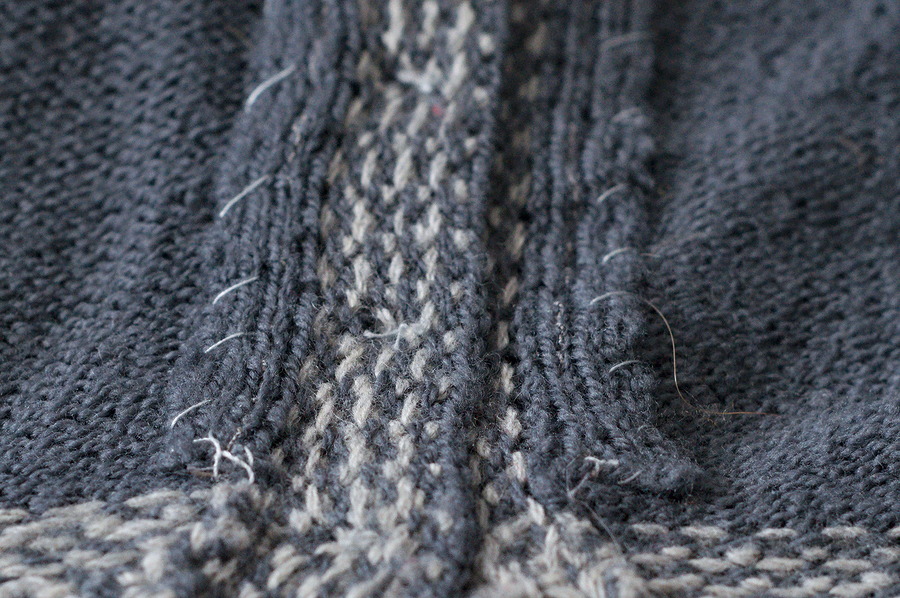 Steek machine sewn and cut
This yarn was worsted spun and is rather slippery. To be save, the steek was secured with a very tiny machine stitch that caught all threads before cutting and whip stitching down. The machine sewn line is barely visible, but holding all cut strands in place.
To fully hide the steek, the raw edge can be encased in two layers of fabric by knitting double the width of button band and folding half over the steek and sewing down. This can be added regardless of the chosen way to secure the steek.
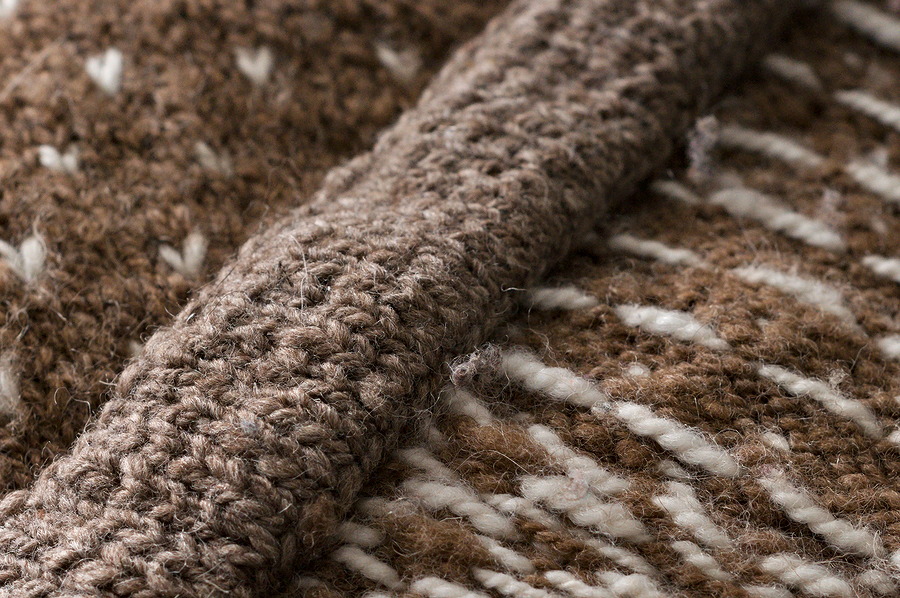 Steek sandwich on a button band
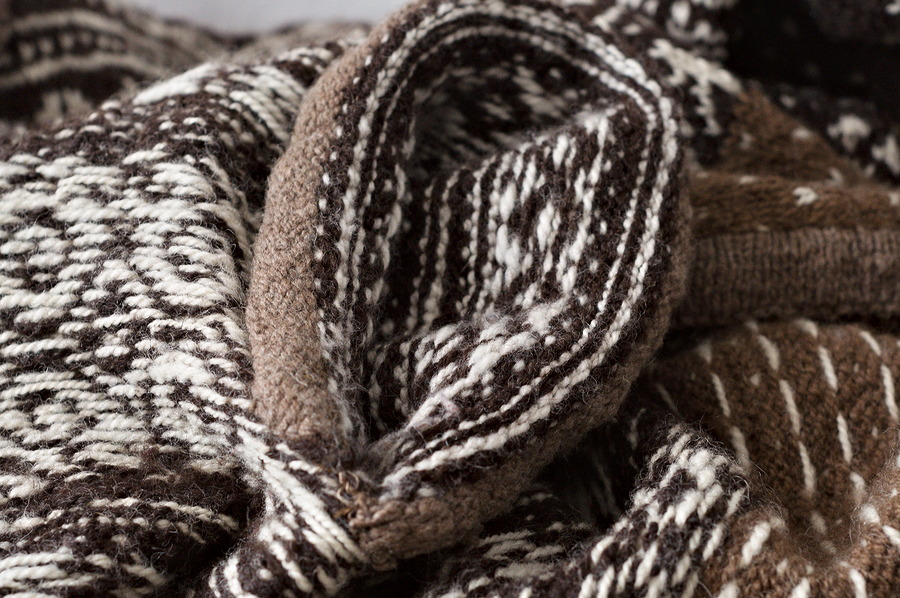 Steek sandwich on a sewn in sleeve
This cardigan (Kosekofte by Skeindeer) is knitted in slippery handspun yarn. All steeks (front opening, neck, armholes) were machine sewn before cutting. The pattern then included instructions to knit additional pieces of stockinette that were folded over the raw edges and sewn down to hide the steek.
Another way to hide the raw edge of the steek after securing it with one of the above methods and whip stitching it down is to add a decorative ribbon on top. This might affect how the fabric behaves and is therefore not suitable for all edges. It can for example cause a button band to wave.
Many patterns will instruct to first cut the steek, then pick up stitches to knit a button band. With a machine sewn edge, this can easily be done, but with all other methods, it will put unnecessary strain on the live ends. Even with a grippy yarn, this can cause the stitches to come partly undone and look untidy. It is therefore a safer choice to pick up and knit the button band before cutting the steek. One hand will need to be placed inside the item, handling the working yarn, the other outside, handling the needle. This can take some getting used to, but is not hard to do and will make the steeking experience less intimidating.
This will not be possible with all types of steeks, especially for armholes. In those cases, opt for the more secure machine sewn steek, cut and pick up later.