By Anna - 26th March 2023
How to get started and what to watch out for
Once you have the general idea of how to construct a garment, you may come to a place where you would like to modify a design to better fit your body type and style. This can range from very simple changes like adding or removing length, to intermediate changes like using a different kind of texture and very extensive modifications that only reuse part of a design and rework significant parts of the construction. All are possible with a little forethought, but they require some attention to detail.
Regardless of whether you are knitting top down or bottom up, modifying the length of body and sleeve is very straightforward. When there is no shaping involved, it is a simple question of knitting to your desired length. Some attention needs to be paid to tapered sleeves and waist shaping on the body.
Adding waist shaping is of course also very easily done. Calculate the difference between the bust and waist circumference based on the gauge of the garment so you know how much to decrease, then determine the placement of the shaping based on the shape of your torso.
In recent years, it has become very common to add short rows to a garment’s neckline, so it is slightly raised in the back and does not pull at the front. There are still a lot of patterns that do not include this, but as it often improves the fit, it can be beneficial to add short rows. These notes apply to garments knitted in the round/in one piece (for cardigans knitted flat). For seamed garments, the neckline is raised differently in the back.
The general idea is to add a set of short rows between the garment’s main fabric and the neckline ribbing. To ensure a good fit, the widest point of the short rows should always be at the top, the narrowest at the bottom. This means they are placed differently depending on the direction of your knitting.
Short row placement
How many sets of short rows you add depends both on the gauge and your body shape. Heavier yarns at fewer rows per 10cm will need fewer sets of short rows to achieve the same raise as a lighter yarn at a more dense row gauge.
Placing the short rows is easier when knitting bottom up. Place a marker at both joins between body and sleeve on the back when joining the parts in the round for the yoke. Depending on where the decreases are placed in a round yoke, you may need to shift them to the side by one stitch occasionally. For raglans, these markers will be the raglan markers. Use these markers as an indicator on how far to go around the neckline when adding the short rows. The narrowest short row should only just go past these markers, raising the center back, while the widest wraps around to cover the shoulders as well.
Short row width
In top down garments the easiest way to place short rows is to find the center back and construct them from here on out. This may mean that you need to move the beginning of the round.
While some designers add very deep short rows, sometimes up to 10cm, I advise caution. If overdone, short rows can create a bulge at the neck and prevent the garment from sitting flat. Start with a depth of 3-4cm. How much exactly you need will only become clear after wearing the garment, so it is good to err on the side of caution when starting out.
It can be an interesting idea to take a plain, basic garment pattern you are already familiar with and add texture to create more interest. This can easily be done, but be mindful of the gauge.
Switching between similar textures is not a problem at all. You can e.g. replace a 1x1 rib with a 2x2 rib and use the same numbers and dimensions as before. They are very closely related and will not create a fabric that is very different from the original. Garter, seed and moss stitch also have very similar properties and can be used interchangeably without much effect on the overall dimensions of a garment.
Caution is needed when using very different textures. When starting with a plain stockinette garment, but adding cables, the fabric will be drawn in, resulting in a denser gauge. To achieve the same final dimensions and ease, you may need to add stitches or block aggressively. This is also influenced by whether you only add a textured column or change the fabric for the whole item. The more expansive the changes are, the more likely it is that they will affect the fit. In that case, swatch thoroughly or be prepared to rip back and restart.
A great place to get inspired is knittingfool.com.
Once you have some experience with garment knitting, you can go whereever you want. Combine two patterns to change a garment from a round yoke to a raglan or vice versa. Change a complete colourwork pattern by using an existing design as your starting point. Or just go wild and do your own thing completely, using previously knitted garments as a starting point.
Here are a few examples of my heavily modified items:

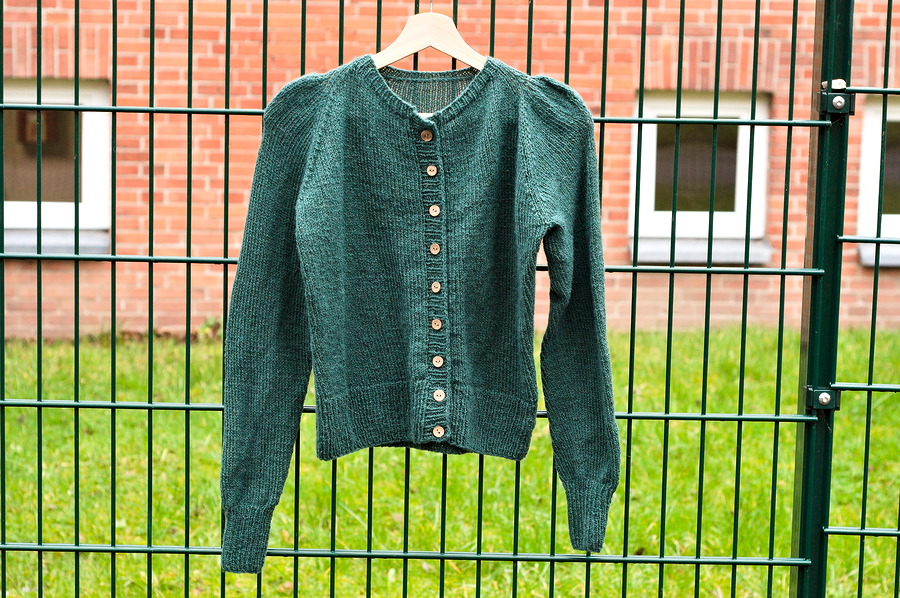
This is mostly the Minerva cardigan by Fabel Knitwear, with two major modifications:

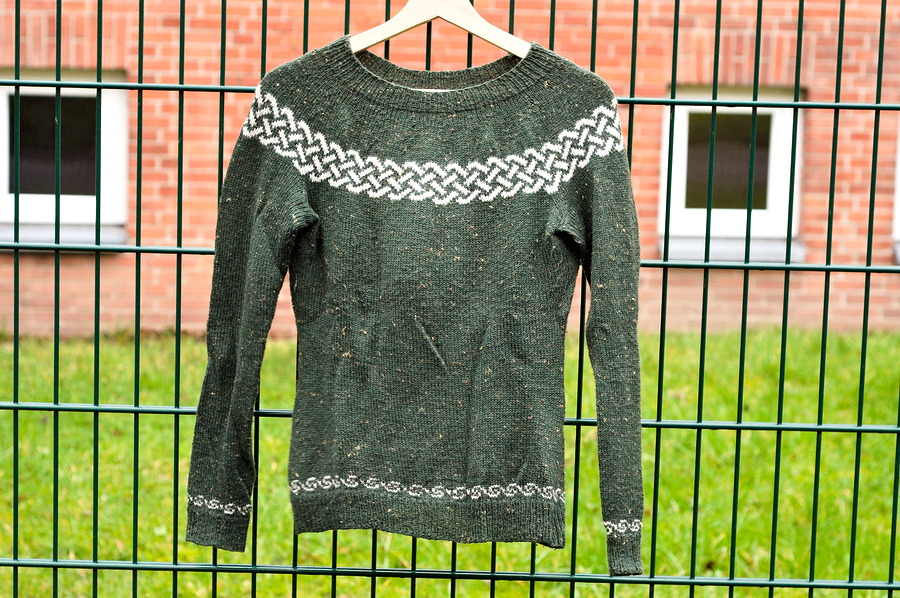
This jumper followed a pttern I had knitted before, but I shortened it and inserted different colourwork charts. The one on the hem and cuffs is taken from a stitch dictionary, the main celtic knot feature from a free hat pattern.

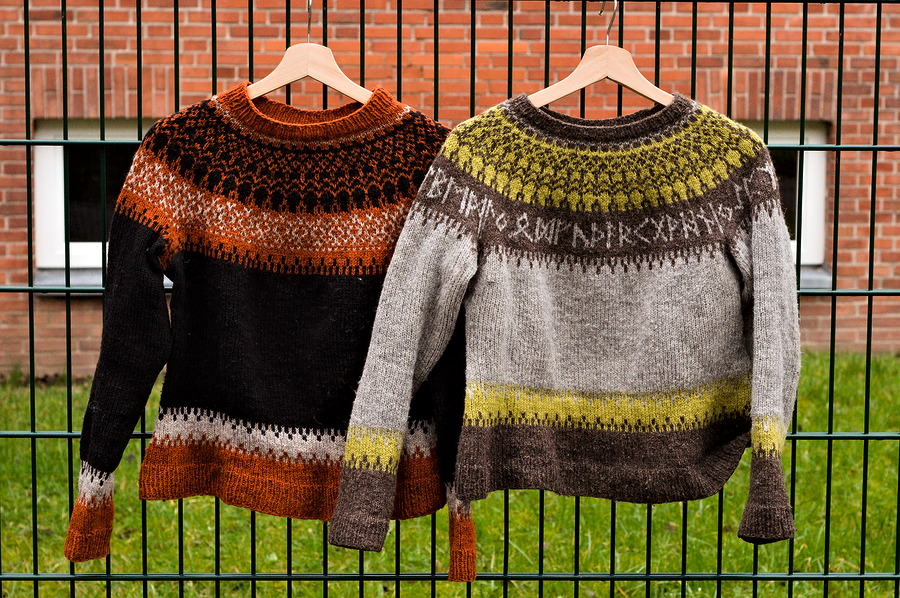
Both these garments follow the same basic pattern, but with significant changes.
The Flamecaller charts are completely my own, the runes were taken from another hat pattern. They just follow the Futhark alphabet, as I could not decide on an extant inscription from a real runestone.

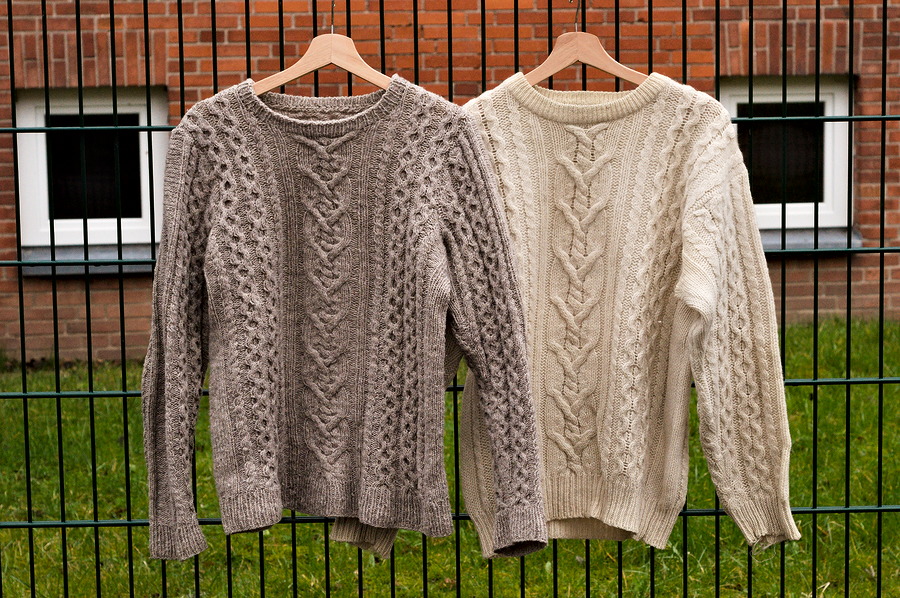
This one was slightly different. The original is a storebought garment that my boyfriend wears a lot. He has completely destroyed the elbows by now and it also had some fit issues, so I decided to recreate it. All cables follow the original, I charted them by staring at the garment and counting stitches for a long while.
Added modifications:
It is slightly too short and narrow, but will widen over time.